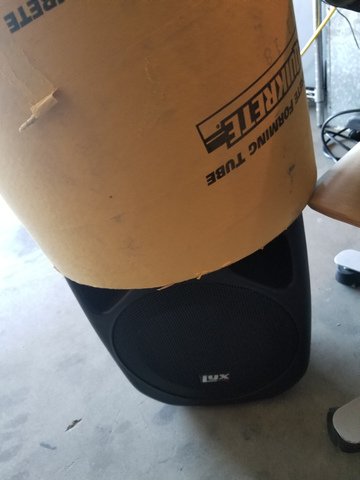
These were made in order hide my speakers.
i started out with concrete forms again, cut in half. i didnt want the final prop to have the forms in them, and i wanted to be able to re-use the forms.
A quick test fit showed that the 16 inch forms would be fine.
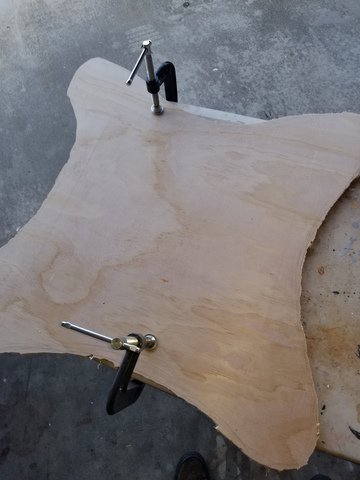
First, i cut out 4 bases from luan to hold eveything, this would protect the speaker from anything on the ground that was wet.
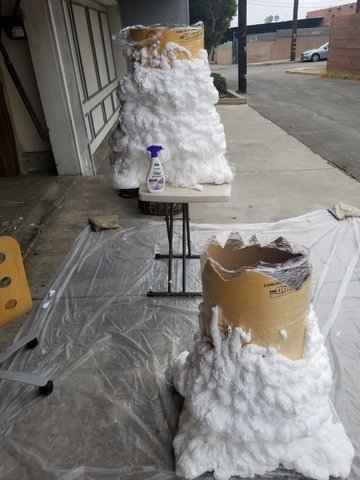
Then the forms were covered in plastic wrap (forgot to take a picture, so here is a later picture showing the plastic wrapped form):

foam was sprayed to just the base
A spot about 6 inches from the bhttom was choosen, and the bottom was cut and sanded to that height. In addition, 4 holes were made with a dowel. The dowels were placed in different places on each set. This was to "key" the tops and bottoms together.

Then plastic wrap was placed over the dried foam,
Next the entire bottom was covered in plastic wrap, and the form (still in plastic wrap) was placed back in the bottom. The dowels were then placed back in their holes with some plactic wrap and petroleum jelly added to make sure the bottom was sealed against adding more foam. Dont put jelly on the dowel, as much as possible. The part sticking up will get covered in foam, and you want it to stick to that to become to become unremovable keys.
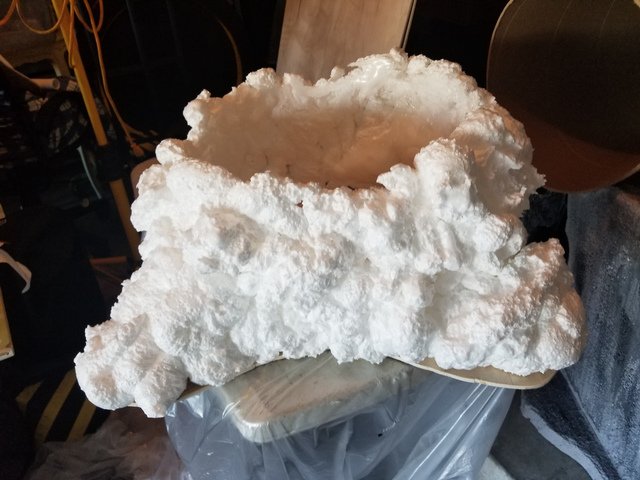
With all this ready, more foam was added to build it up, i tried to get to near the top of the form. During the spraying process, i sprayed a lot of water all over the the form's plastic wrap and the outside of the new foam as it was coming out. Water helps the foam to dry quicker, which was needed to help it to stay to high up on the form
During the spraying process, water was sprayed all over. Water causes the spray foam to dry faster, and was necessary to get it to stay on the higher sections without falling over.
After all this dried, the forms were removed from the centre by sheer brute force. We found that we would cut a hole near the top and use a stick as leverage to force the form out.
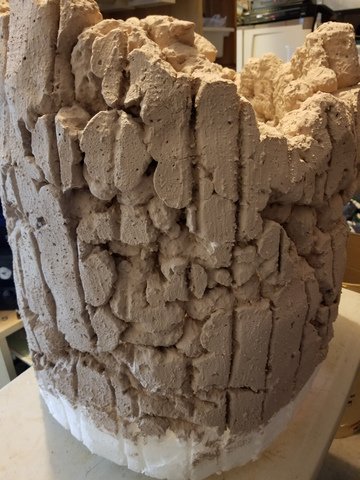
Next the top and bottom piece was carved and sanded together as "one" piece. A few things here, the foam was craved to give it a "flatter" appearance and a more uniform thickness. this exposed parts that were not as thick and gave it a more weather bark appearance. A file was taken a used to gouge vertical lines all around the stump. The unevenness of the top was left alone.
A whole was cut out of the bottoms in back to allow access to the speakers back panel.

Another whole was cut on front on the top for the speaker to play through without being muffled.
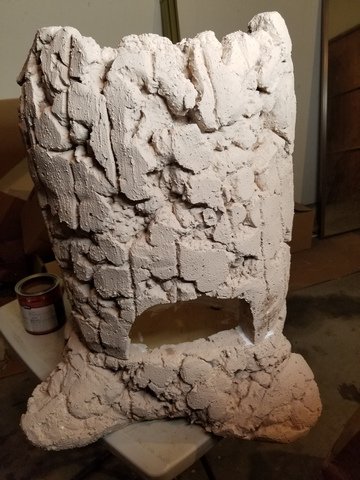
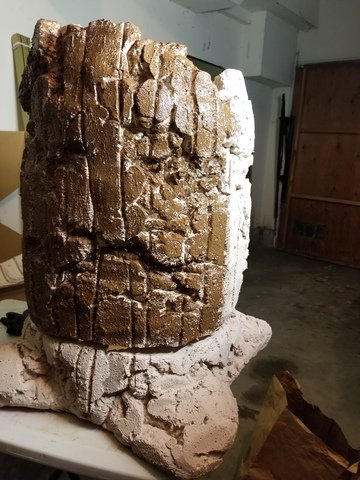
Then "monster mud" was added to the entire outside. The mud consists of "roughly" 1 part acrylic paint and 5 parts joint compound, and a lot of sand "to taste". i can remember, nor did measure, how much sand i added, but it was a fair amount. Since the paint is so diluted, it does lighten it up significantly. The colour you choose is not super important, as you usually paint over it.
in this case, i had enough of the brown paint i was going to use, to use on the mud also.
It is important to do the top and the bottom separately and let them dry separately, or else they will become one piece when the mud dries.
After everything was dried, i painted the whole thing in a shade of brown, purposefully leaving unpainted spots.
Then i added black paint to random spots
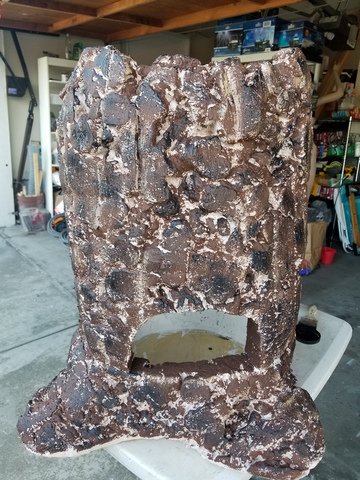
These looks fantastic in the dark lighting and the audio sounded great, and not muffled at all.