I love the why these turned out. They were a little bit of work, but i think they look amazing. The actual process was fairly simple, it was just time consuming.
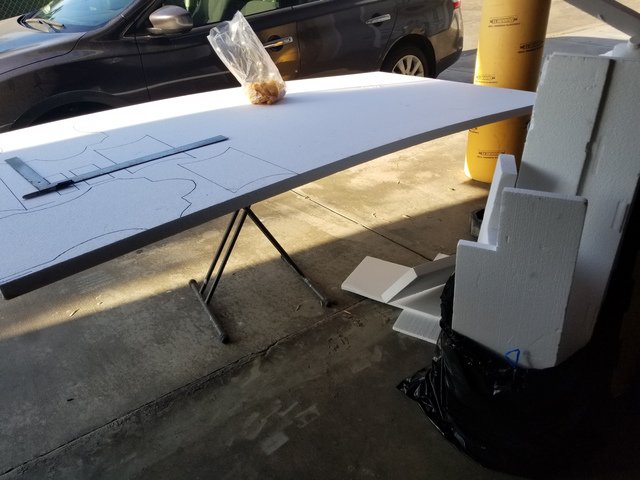
First, i got a 4ft x 8ft sheet of 1/2 inch and 1/4 inch styrofoam.
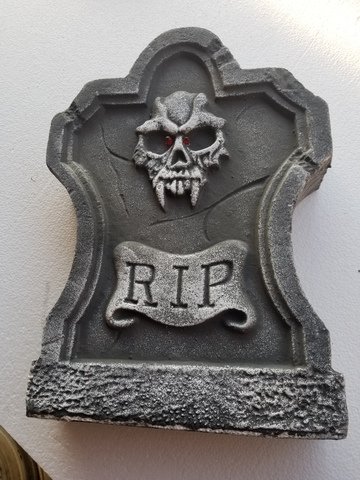
Then i took some store bought tombstones
and traced them out on the styrofoam sheet.
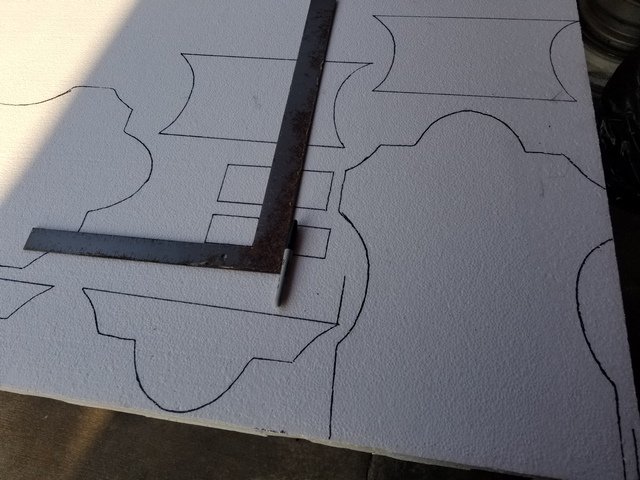
In order to get a richer 3-dimensional look, i cut out side and tops and bottoms also. Looking back, it mightve just been easier to cut the same shape and layer it instead.
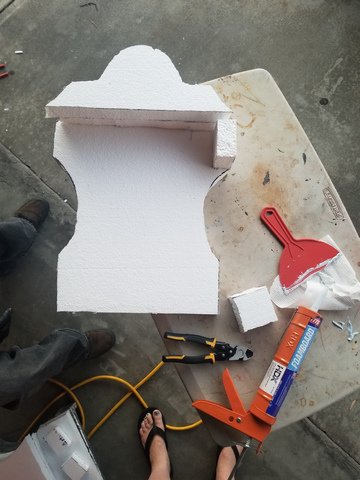
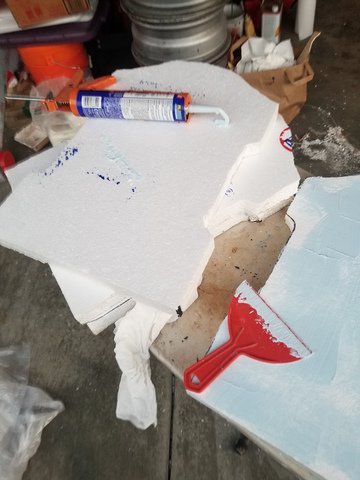
Everything was glued together using styrofoam glue and then glued to a flat base to stand up.
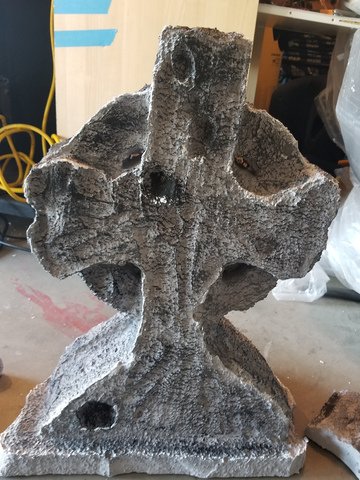
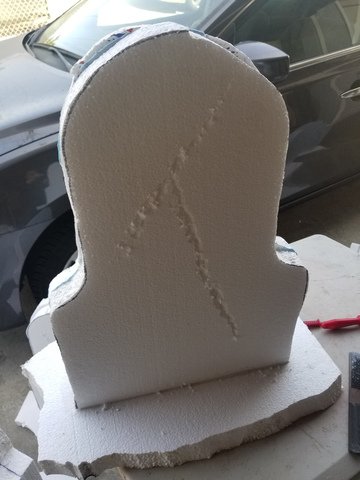
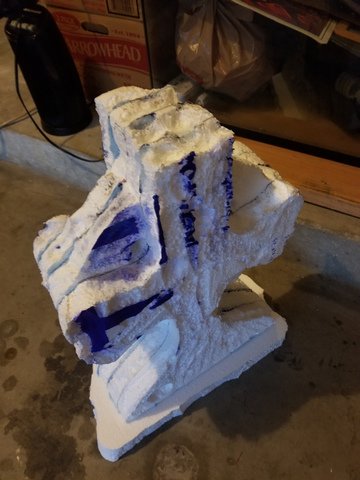
Next it was time to add some character. So i took various tools, mostly a thin file, and made cracks and symbols in various places on them..
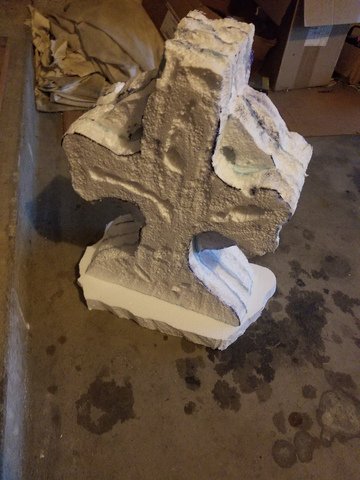
Once that was complete, i took brush cleaning (mostly a very strong acetone cleaner) and lighting dabbed, dropped and gouged various bits and pieces. Then i ran it along all the cracks and symbols made by the file earlier. Next i ran it along every single edge and corner to smooth it out and wear it down. finally i "washed" the whole thing in a very VERY light coat of brush cleaning, EVERYWHERE. This got rid of the styrofoam look and gave it more of a stone like texture.
After all that, i took a mixture of joint compound, grey acrylic paint and a LOT of sand and and diluted that with a fair bit of water. Then i brushed a light coat of this mixture all over every surface, paying attention to hide all the seams.
after that dried, i took the grey acrylic paint and dry brush it over everything. The i took some black and dried brushed that in select areas to add depth and shadow. Lastly i took some white and dry brushed that along edges to highlight them.